Copyright © 2025, Philip Robinson. All rights reserved. This work may not be reproduced, in whole or in part without prior permission of the creator
Showing posts with label Neil Thomas Rules. Show all posts

Tuesday, 7 June 2022

Baldinus Minimus Mortuus Est

 Following the untimely death of Baldinus Maximus, the throne has been claimed by his son Baldinus Minimus, however Bicclius Magnus AKA Et Argentum Vulpes has been raised to the purple by the northern legions and is marching on Rome with a contingent of Goth allies. Baldinus is also on the march north, the two sides have met at the pass of Rawnsla.

Baldinus has positioned his forces between the high ground on his right and the wooded but boggy ground on his left. Battle is soon joined, the forces of Bicclius weathering the storm of javelins, arrows and ballista bolts been thrown at them. Fighting is fierce, no quarter asked and none given, at first things appeared to be going well for the young emperors forces, but slowly the tide started to turn with many units being pushed back. The forces of the emperor had started to turn the fight around when disaster struck, the young emperor was seen to topple backwards clutching at a Goth arrow protruding from his throat. News of the new emperors demise quickly spread and his forces lost heart and put themselves at the mercy of Bicclius Magnus their new emperor.

Not many photos I'm afraid the light was not being kind today, we will turn the table around next time to see if it will improve things.

A Goth warband of Bicclius in combat with Baldinus's Equites Singulares
Bicclius's noble Goth cavalry in combat with Baldinus's heavy cavalry
Rival legions engage in bloody combat
Rival Goth cavalry engage
A Goth warband of Bicclius turns the flank.


Short and sweet I'm afraid. Until next time......

TTFN & KBO


Wednesday, 2 March 2022

A Surge Of Saxons

 With the arrival of spring the Saxons are once more raiding into Romana-Briton territory, the first target being the farm of a retired Roman auxiliary to stock up on pork. The spies of local warlord Baldinus have warned the local militia who have gathered at the farm in an attempt to hold back the raiders until help arrives from General Artorus.

A hard fought battle ensued but even the arrival of the forces of Artorus could not save the day and the farm ended in the Saxons possession.

We used Neil Thomas's Ancient and Medieval rules to fight the engagement. Some photos of the game follow.

The Saxons surge forward.
Militia archers remarkably stem the Saxon advance on the right flank for a time.
Meanwhile militia spearmen hold the centre.
The fight for the farm begins
Fighting on the left flank continues, while the cavalry arrive. Penda sends more warriors to close down the cavalry advance.
Fighting in the farm intensifies but to no avail.

We will be off to Hammerhead on Saturday all being well, to collect some bases and RUB inserts pre-ordered from  Warbases and a general peruse with only a pot of paint and some grass tufts on the list at present.

TTFN and KBO


Tuesday, 19 October 2021

Roast Pig For Supper

 During our last game via Zoom, Matt said he was looking for something in between Lion Rampant and Kings of War for Dark Age games. I suggested that Neil Thomas's Ancient and Medieval rules my fit the bill and that I would host a game using them and our house rules.

We met up remotely on Sunday and played out a Saxon attack on a Romano-British village using the standard eight units per side in the rules.

Defending the village would be three units of militia and a unit of archers supported by a ballista crewed by some ex auxiliaries, coming to their aid was a unit of Arthurs infantry and a unit of cavalry. These would appear at the start of turn two needing 5 or 6 on a D6, 4, 5 or 6 the following turn and anything but a one thereafter, when they did appear another roll of a six would see them appear on the Saxon flank just passed the half way line.

Needing to get stuck in and also be wary of the flanks the Saxons surged forward, the cavalry arrived in turn two, fortunately for the Saxons not on either of the flanks.
The militia seeing the advancing Saxons immediately formed a shield wall, the archers stood their ground and failed to evade the charging Saxon horde.
Over on the other flank the Saxons made headway into the village.
The ballista failed to stall the Saxon advance and was over run in short order.
While the militia stubbornly held on to the village a ray of hope appeared with the demise of the Saxon leader but rather than dispiriting the Saxons it had the opposite effect.
A Saxon warband storms towards the baseline, when an infantry unit exit the table in Neil Thomas's rules the enemy must immediately withdraw two units to represent the morale effect of enemy in the rear and looting the camp.
The British could not withdraw two units without the Saxons being able exit another unit which would reduce them the two units which signifies a defeat in the rules.
A well fought game by Matt, aided also by some abysmal dice rolling by yours truly, two casualties from my cavalry in five turns, really? Only the one militia unit in shieldwall could claim any glory, valiantly holding off the Saxon horde from turn two.

No more games here at OHQ for the immediate future my father in law passed away in the early hours of Sunday 10th and we are away for my wife's birthday next week coupled with funeral and other arrangements all games will be at GHQ or via Zoom until further notice.

Harold Walters

1928 - 2021

Rest easy dear Sir.

TTFN


Tuesday, 10 August 2021

Baldinus Mortuus Est

 Dave came over to OHQ for our weekly get together, we did a Roman v Goth bash to try out our recent modifications to Neil Thomas's Ancient and Medieval rules, the AMW rule page has been updated accordingly.

I didn't take any photos of the game concentrating instead on seeing the effects of the Goth warband deep additional rules.

It was a hard fought battle both sides initially advancing cautiously, with the Goth archers softening up the Roman lines prior to the warbands engaging. The warband changes gave the Goths more longevity against the legions, however a Roman win was the final result, not before disaster struck. Seeing a gap in the Roman line and old Baldinus and his entourage out on their own, the Equite Singurlares were destroyed earlier plugging a gap in the line, the Goth nobles charged. Although putting up a stern fight Baldinus was slain!

Civil war is now on the cards, Bicclius Maximus has his eye on the throne, Baldinus Minimus beware!

Figures to increase the Roman collection and a figure for Bicclius are being cleaned up and primed.

TTFN and KBO

Monday, 12 July 2021

Slaughter At Sogga's End

 Once again battle for the control of Britannia has broken out, the forces of Penda Fudd were marching forth hoping to catch the British short, the British had deployed to meet them in the gap at Sogga's End and the Dark Woods. Could they hold back the Saxon horde until the arrival of Arturous and his knights and could they save the day when they did?

The Levy Are Sorely Pressed

Some Of Arturous's Knights Gallop Over The Causeway

They Are Immediately Assailed By A Saxon Warband


The Melee In The Centre Continues Unabated But The Saxons Are Starting To Get The Upper Hand

 
On The Opposite Flank The Rest Of The Knights Arrive, These Too Are Assailed By Saxons Lurking Unseen In The Dark Wood 

Alas after two hours of fierce fighting only Artorous's knights are still on the field compelling them to break off and concede the field to Fudd's Saxon horde. Both sides suffered heavy loss, Penda will regroup, reinforce and continue another day.


They left behind them, corpses for the dark black coated raven, horny beaked to enjoy, and for the eagle, white backed and dun coated, the greedy war hawk and that grey wild beast, the forest wolf.

From "A Choice Of Anglo-Saxon Verse" Edited By Richard Hamer


TTFN


Friday, 5 March 2021

Roma Victrix

 Having recently made my Goth warband bases larger rather than adding an additional base at the back I thought I would give them a run out, again using the deep warband amendment to Neil Thomas Ancient and Medieval rules. In the first outing their use was less than auspicious but then again so was Dave's dice rolling, we would see how they fared with all four warbands upgraded.

As this was a solo affair I decided to use my To the Strongest chits to activate the units, if a one was pulled that sides turn would end, having a general attached to the unit attempting to activate would allow a redraw.


 The Battle Lines Are Drawn

The first turn saw a general advance of the Gothic line, in their turn with their left flank anchored on the forest and no cavalry support the Roman auxillia advanced against the lead Goth cavalry to protect the lanciari on their right, the Goth noble cavalry had failed their activation and remained in the rear.


In their turn the Goth archers let loose on the Roman light infantry.


Meanwhile a Goth warband charges the Thunderbolts and pushes them back!

Emboldened by their neighbours success the adjacent warband charges the Jovani, who are made of sterner stuff and hold their ground.


The Goth archers on the left are left on their own when the Roman cavalry charge their supporting cavalry leaving them easy prey for the Roman auxiliaries who do seven casualties.


The cavalry fight it out.


In the centre the Legions and Goth warbands slug it out.

Over on the Roman left the lanciarii who are engaged in combat with the Goth archers are charged in the flank by the Goth noble cavalry, luckily they had been joined by the general and were able to do a redraw when they initially drew a one. This was to be the only unit that the Romans lost.


However with the warbands in the centre and the cavalry on the Goth left in flight the game was up for the Goth forces.

A most enjoyable game, I may use the chit draw in future it certainly gives a command decision challenge, do I activate A first and risk drawing a one or do I activate C first and risk the same, which would be the best benefit for success and at the beginning of the turn which unit should the general join to ensure a successful activation?

Until next time.

TTFN and KBO


Tuesday, 29 September 2020

All Quiet On News From The Front

 Well almost, we managed to get a game in a couple of weeks ago or so. We played a straight up Neil Thomas AMW game of eight units each, primarily to try out my new Deep warband addition. Did it help? well not really sure as Dave's dice throwing was shall we say well below average.

The game had the usual to and thro, with the advantage swinging to Romans and then back to the Goths and eventually back to the Romans securing Baldinus a victory over his arch nemesis Bikka.

I didn't take any photos as the next game scheduled here was another outing using To the Strongest, it seemed silly to have practically the same. That said should we be able to have a game next week, who knows these days when the powers that be appear to be winging it, we will instead, having took delivery of Rapid Fire Reloaded be giving them a try.

I have not painted much for myself being busy on commissions and going away for a couple of weeks, on my return I have managed to finish the two Pegasus Models Tiger II's I started.


 That's all for now folks, keep safe and all that jazz, TTFN

Saturday, 25 April 2020

Mount Badon - The Assault

First off a note on using the activation system from To the Strongest, each commander would roll a D6 the result would be the number of activation chits he could use to activate the units in his command. For example, Horsa rolls a 6, he has three war bands under his command he could try and activate one war band six times or the three war band two times each, you get the picture.
Also in addition to other things he could do if attached to a unit, see AMW additions opposite, he could draw another activation chit if one failed to get the requisite score, this would also count towards his available activations. Also if a unit is more than twelve inches away from its commander the activation number required is one higher than required.

Turn One
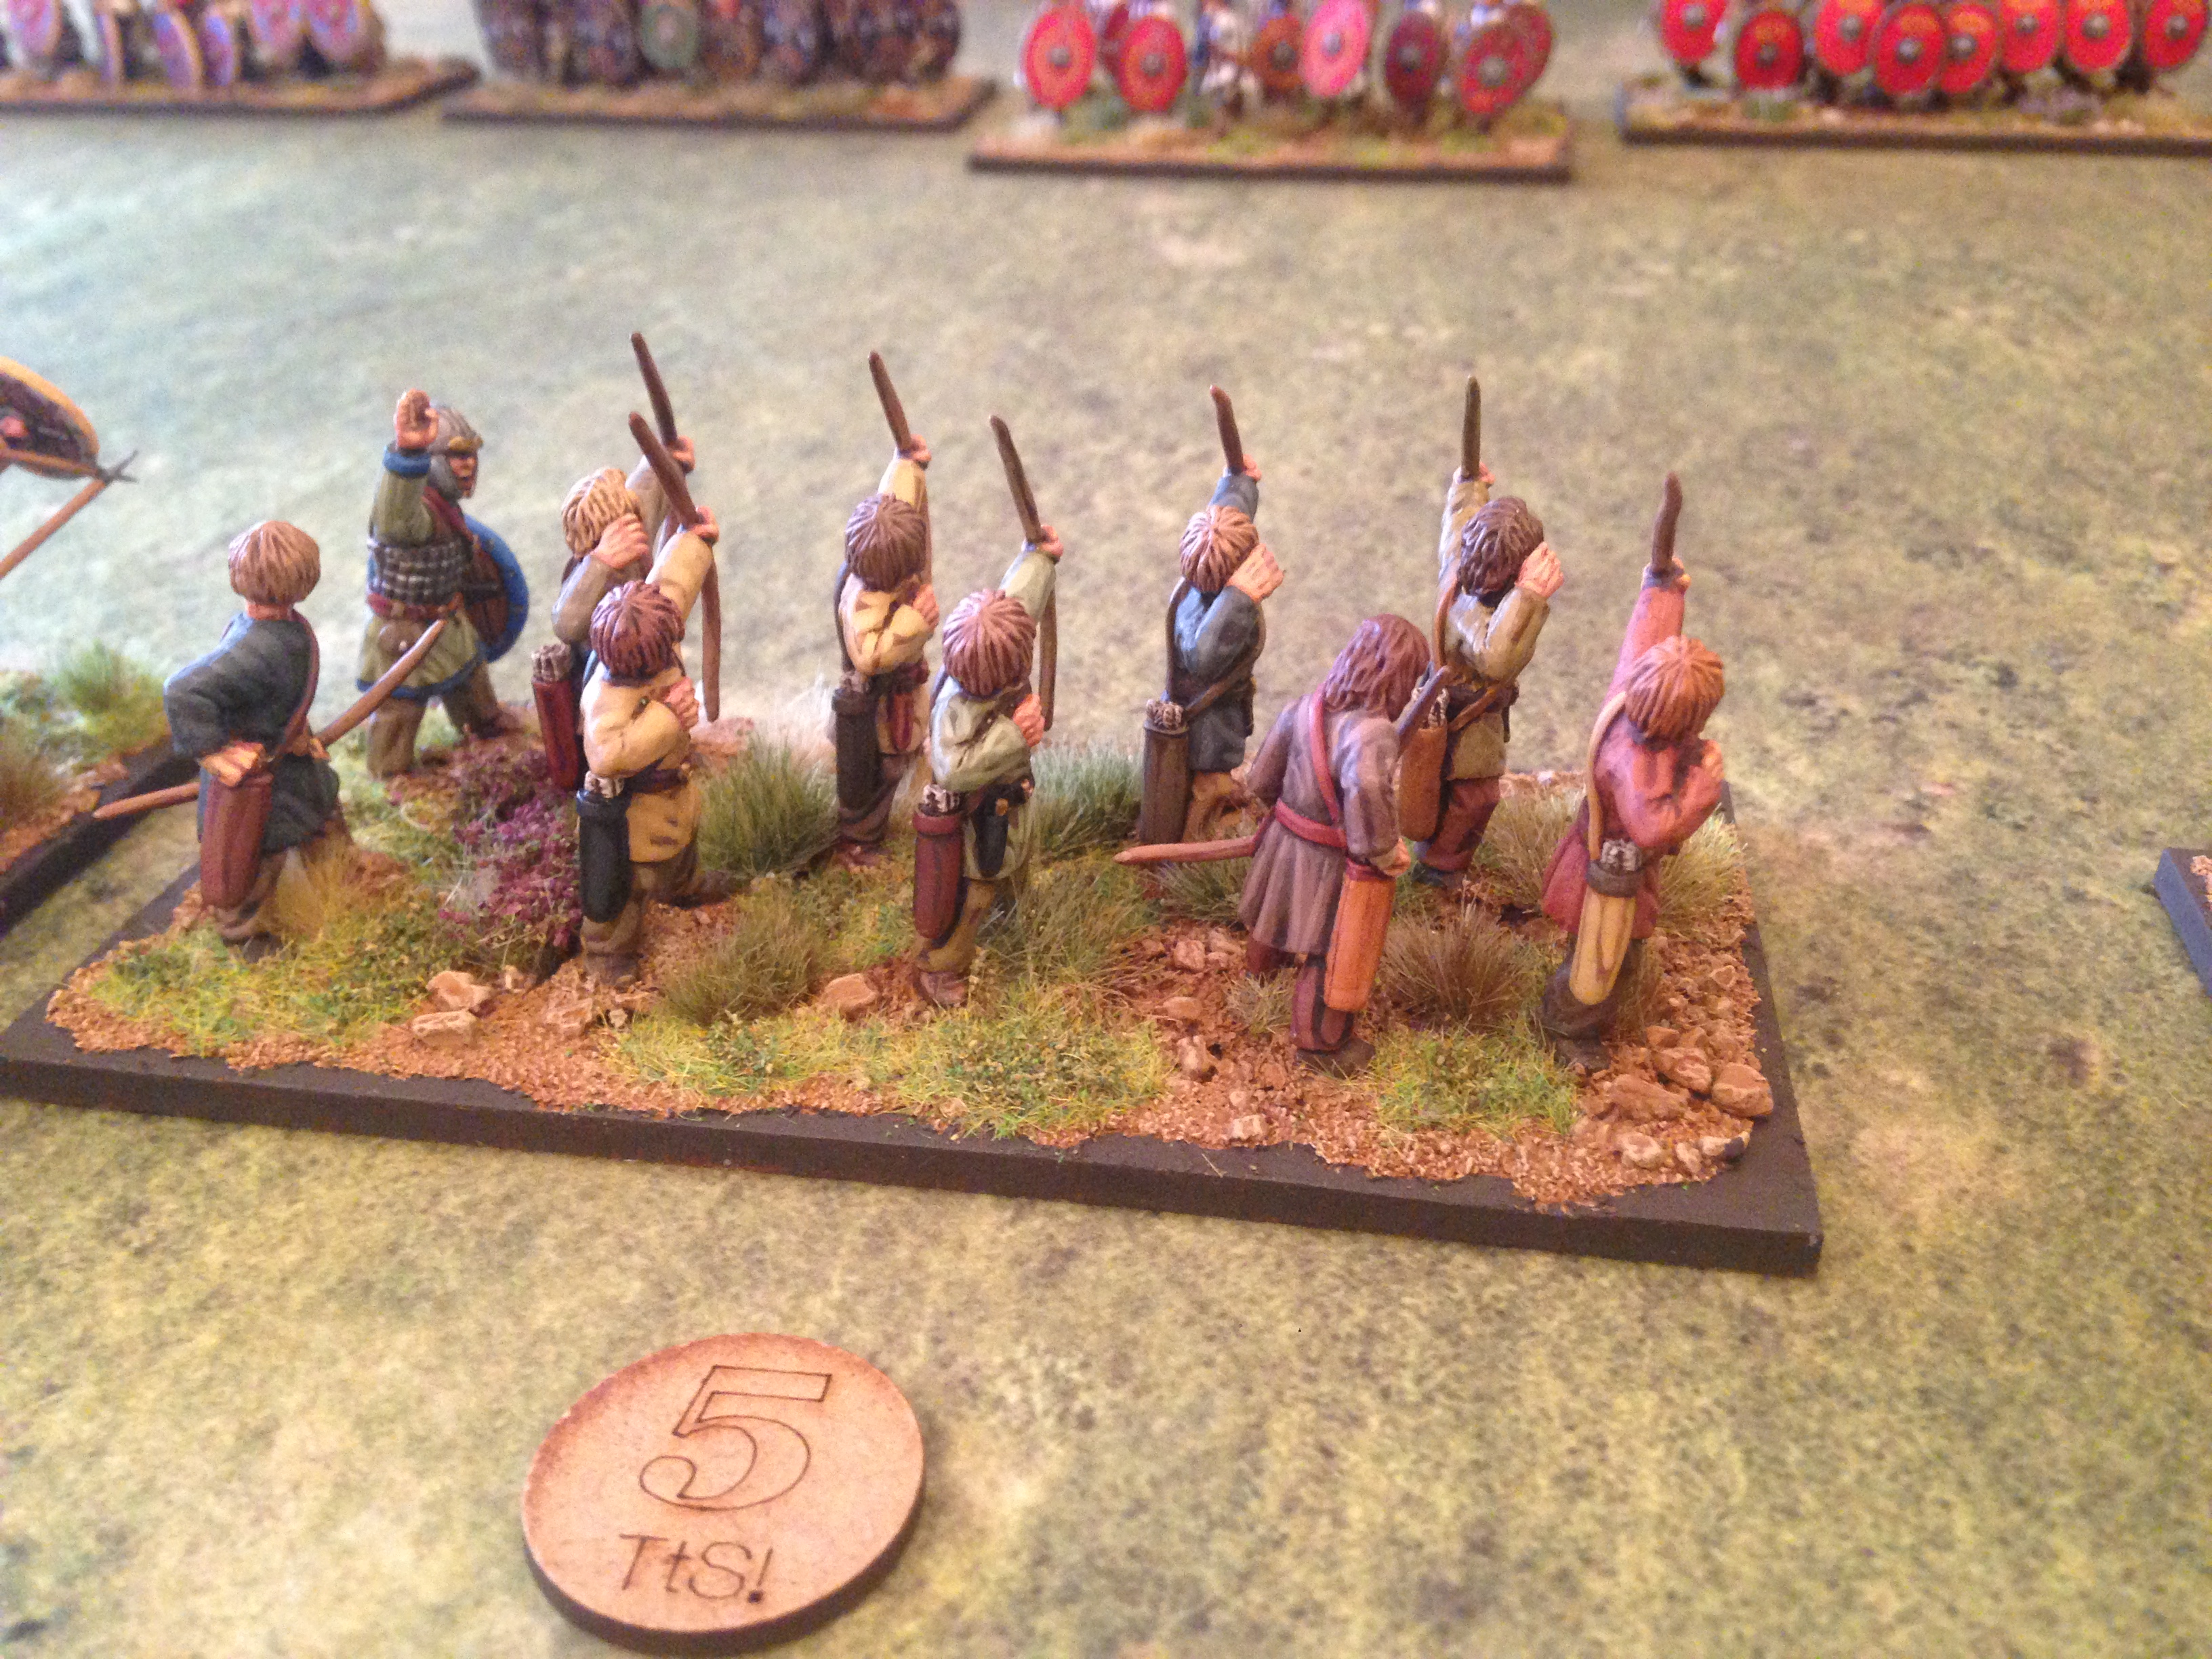
A slow start for the Saxons - Activations from right to left 6,1 and 1, but the British levy unit on the left takes three casualties from the Saxon archers whilst the warbands advance slowly.
The lone British commander gets 2 activations, getting the archers to fire.

Turn Two
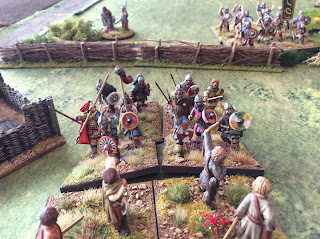
Saxon activations 2, 1 and 5. The British levy unit on the left take more casualties from archery losing a base. Penda Fudd holds his bodyguard in position to await the advance of the warbands on his right, meanwhile the headstrong Hengist on his left leads his warband in a charge against the British archers who against all odds hold them back but at a cost of two bases.

Turn Three
Things are going well for the Saxons, however their warbands are quite strung out and Arthur and reinforcements could arrive anytime.

Turn Four
The Saxons progress is blunted by poor rolls for activation, 2,1 and 1, they really did need the gods to look down kindly this turn.
Time for the Britons to reply and reply they do, Arthur arrives. This puts new life in the troops on the hill bravely holding off the attack by Penda Fudd and his seasoned bodyguard. Obviously tired by the march Arthurs force does little, a low activations roll.


Turn Five
Hengist gets a good activation, despite a tempting flank on the right he as to mind the approaching Britons from Arthurs force on his left so elects to face them, obviously tired from the fighting since turn two his men refuse the charge them.
Meanwhile the fight between Penda and his bodyguard and the Britons with Baldinus fighting among them continues, on the right Horsa's archers fire and wipe out the remaining levy unit while his warband continues its fight against the Roman remnant unit also seeing them off too.
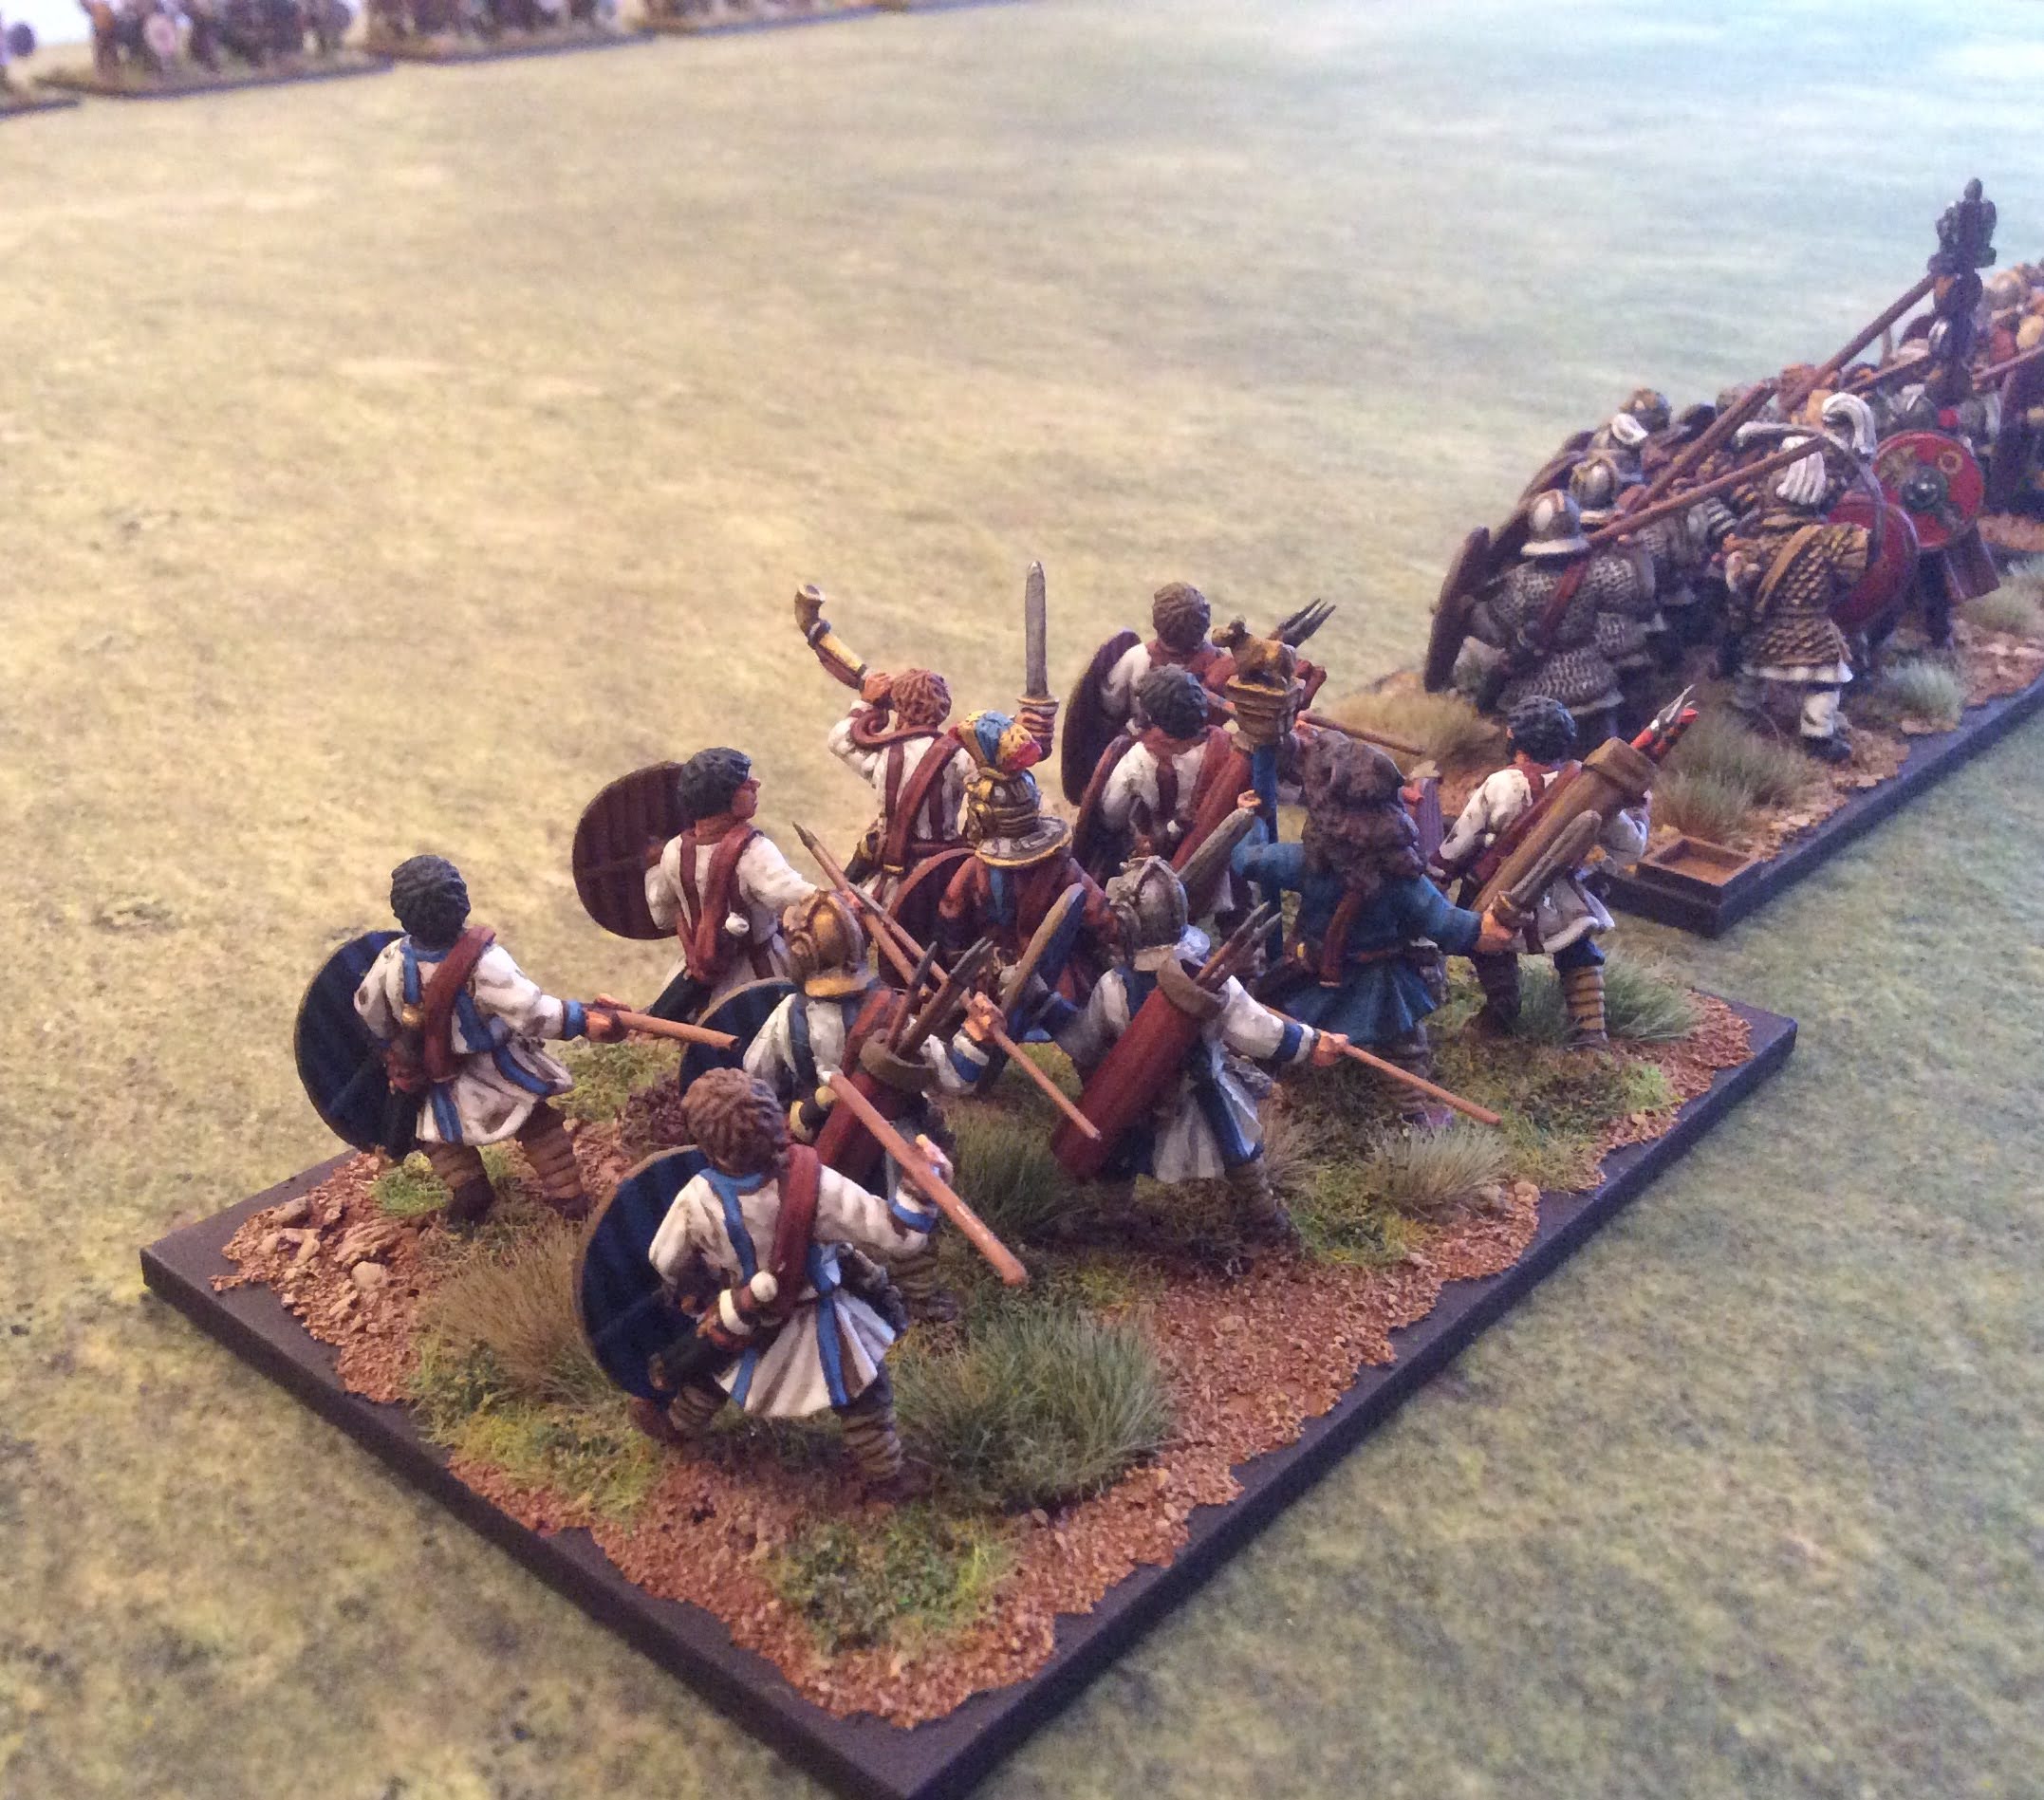
Things are looking bleak for the Britons on the hill, Arthurs men are really tired and still advance slowly this turn, no doubt catching their breath for things to come. However Arthurs knights are in better shape their mounts are suitably recovered and he charges headlong into the flank of Penda and his bodyguard, but they are made of stern stuff and weather the assault (Arthurs men score 4 hits out of a whopping 12 dice, Arthur uses his re-roll with the 8 misses and they all fail to score a hit too! the horses maybe recovered from the march but not the men it seems)


Turn Six
Penda Fudd is slain, the resulting morale checks sees two warbands fleeing the field, in terms of units though things are pretty even at the end of the turn. In AMW the battle is lost when one side is reduced to 25% with the sides fairly equal in numbers I could have continued but deemed that the loss of Penda would see the Saxons withdraw from the field.

An enjoyable few hours, I thought that the activation additions helped when playing solo it gave a lot more uncertainty to proceedings, next time I will try using To the Strongest in its entirety and see how it goes.

Until next time keep safe and KBO