Copyright © 2024, Philip Robinson. All rights reserved. This work may not be reproduced, in whole or in part without prior permission of the creator

Wednesday 17 June 2015

Testing

I have downloaded Chrome as my browser to see if  Blogger works any better than using IE which was becoming a dead loss. Working better on Chrome so far.
As is it is the Waterloo bi-centennial here are some Foundry Napoleonic figures which I will be popping on EBay after my holiday.


Wow! those uploaded in the blink of an eye. Using IE it was taking an age or crashing.

TTFN

Monday 15 June 2015

La Battalla Del Valle Rawnla, Being An Action In The First Carlist War

Dave popped over to OHQ for a First Carlist War game, we used Neil Thomas's Napoleonic Rules, we usually use his 19th century rules for this war, but I wanted to see if these were better suited. On reflection an amalgam of the two may be in order, we shall see. One thing that I will probably change when using either is the morale failure result, in Neil's rules if you fail a test you lose a base which is quite extreme. Next game we will try the following, if you fail you lose additional casualties equal to the difference in the score, so if you require a 4+ to pass and roll a 2 you take an additional 2 casualties rather than a base which equals 4. I doubt it would have reversed my miserable defeat today if we had adopted it though.
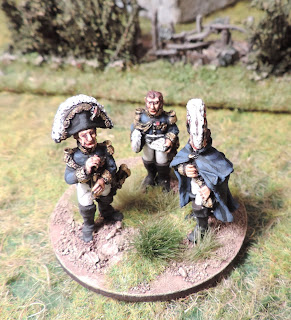
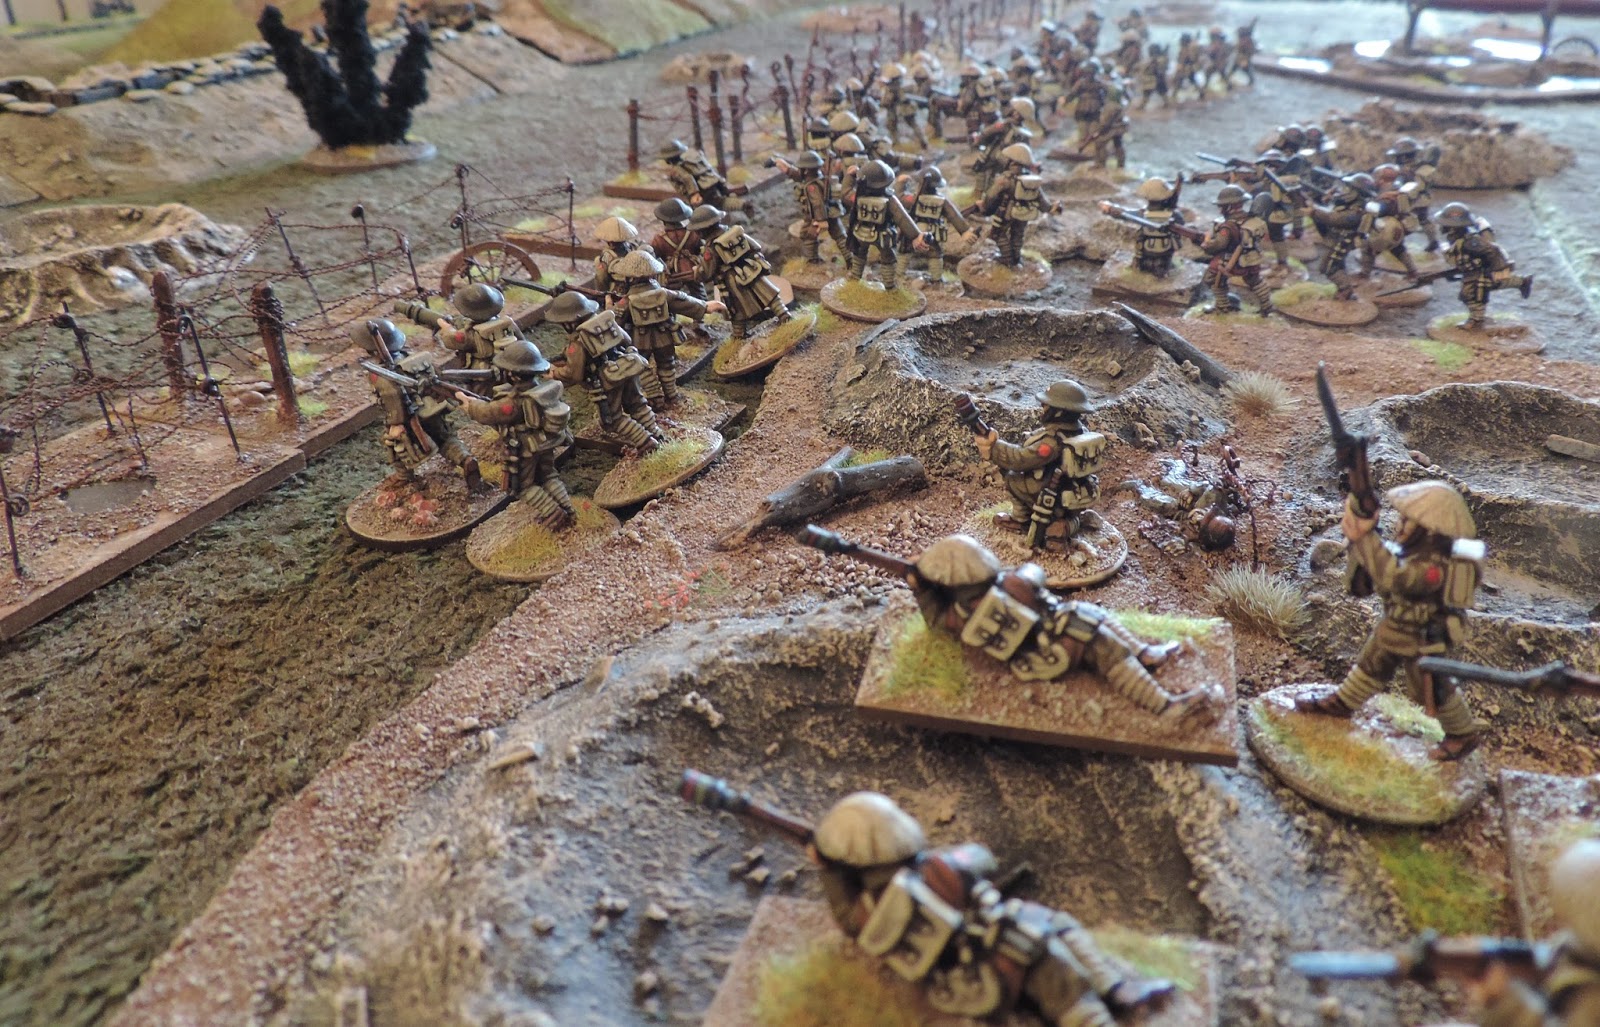
Here is a photo montage of the action
Both Sides Advance

Carlist Columns Supported By Skirmishers

The Isabelino Forces Deploy To Meet The Advancing Carlists

Carlist Artillery And Cavalry Lend Support To The Advance

Isabelino Forces Deploy Into Line

Isabelino Skimishers Cover The Left Flank

Carlist Skimishers Deploy To Counter Their Opposite Number

Impetuous Carlist Cavalry Attempt A Reckless Charge To Break The Isabelino Line

A Carlist Column Advances Under Withering Fire

Isabelino Cavalry In Reserve To Follow up The Carnage Wrought By Their Comrades Musket Fire
 The Carlist forces never really got into action, taking an immense of fire they failed their morale checks time and time again, their gamble of sending in the cavalry also failed miserably. In a little under two hours they had only two units remaining so quit the field to the triumphant Isabelinos. Don Byklos Carlos rides again!

Off to Cornwall for a break so no game next week, next up the week after will be a late Roman civil war bash pitting the pretender Baldinus against Pompous Maximus Imp.

TTFN   

Monday 8 June 2015

Leaders And Champions

I have recently completed more figures for my Dux Britanniarum project, I have more primed ready to paint, just need to fit them into the busy schedule somehow.
Leader and Bannerman
Romano British Champion
Saxon Leader and Champion
Figures are from Footsore nee Musketeer Miniatures with LBMS shield transfers.

Off to GHQII for a game set in the heat and dust of 19th century Sudan later today, let's hope they "Don't like it up 'em"

TTFN

Monday 1 June 2015

A Great War Game, At Last!

Today we finally managed to conduct the planned Great War game that was postponed due to domestic and family matters over the last few weeks. We had intended to use the Chain Of Command Great War variant, but keen to play and for ease of play we went with what we knew and used amended Bolt Action. We shall use CoC for the next Great War outing.
Overhead Shot Of The Battlefield, Taken By The Intrepid Allied Pilot Capt. Biccles
The British Begin Their Advance, The Vickers MG Is Deployed In A Sustained Fire Role On The Right Flank, Technically Off Table But Deployed In Shrapnel Villa For The Look Of The Thing

The British Deploy Their Rifle Grenadiers On The Left Flank To Support The Attack, A Rolling Barrage Creates Few Gaps In The Wire But Keeps The Hun Pinned In Their Bunkers
The British Advance Nears The Wire, There Is Little Sign Of The Germans Except For Some Rather Sporadic And Ineffective Maxim Fire, Poor Quality Ammunition Or The Effect Of The Bombardment? 


The Germans Make A Belated Appearance In The Front Line Trench Where When They Mounted The Parapet To Fire Were Met With Withering Musketry By The Now Numerous British

British Rifle Grenadiers Are Pinned Down By Maxim Fire, But It Gives Their Comrades Chance To Force The German Trench

The German Morale Collapses Under The Tremendous Avalanche Of Fire, Their Advancing Supporting Section Retires To The Second Line As A Result

The Tardy MkIV Arrives, But The Infantry Have Already Done The Necessary Work
Having Seen Off Their Opponents The British Bomber Section Prepare To Enter The Tunnel To The Church Crypt, Meanwhile A Rifle Section Heads Around To Cover The Exit

Up At The Top Of The Picture The Other British Sections Keep The Second Line Trench Under Fire Having Destroyed The Maxim Team 

Leunant Weiss And His Staff Prepare To Exit The Crypt

The Germans did have another section in reserve but there was no real way that they could deploy and not come under heavy fire, besides which they would have been heavily outnumbered and would not have been able to save the day for the defending Germans. Had the Germans manned the front line sooner things may have been different, but Dave's plan of attack seemed pretty sound, a well deserved win.

TTFN